- Downloaded
- 5.7 GB
- Uploaded
- 448.6 GB
- Ratio
- 78.11
- Seedbonus
- 134,973
- Upload Count
- 217 (223)
Member for 5 years
What do you need to use your electronic signature? - Tested in Uruguay
The procedure that I will share with you is tested in Uruguay with our electronic ID.
It will be used to use any identity document with a chip, smart card or token.


1. Requirements
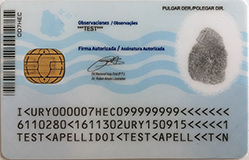
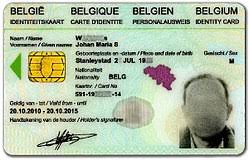
• Have an electronic identity card
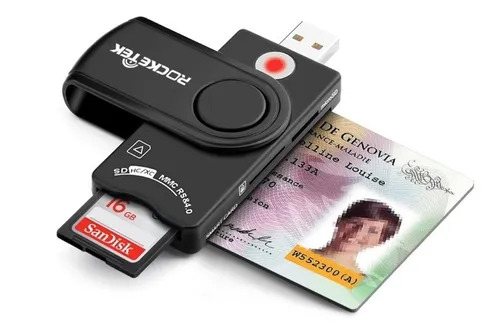
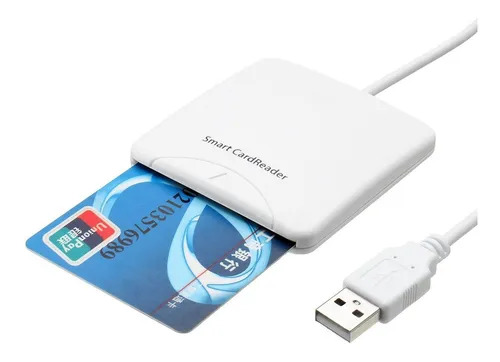
• Have a smart card reader
• Have drivers for the electronic card installed. If you do not have them installed, in point 2 you
we indicate how to do it.

NOTE TO DRIVERS:
The driver provided will be the one used in Uruguay.
There are many companies that provide smart identification cards and the drivers and drivers will depend on each country.
As in Uruguay the provider is the Gemalto company, we will use the driver Classic Client version 7.2 by Gemalto (Toolbox).
For other countries, they must request it at the Institution that provides them with your smart identity card, smart card or token.
• Have JSignPdf installed. If you don't have it installed, in point 3 we tell you how to do it.
2. Install Electronic Certificate drivers
First of all, the drivers for the electronic identity card that are available must be installed
then. Within the download options you must select the one that suits the operating system
from your computer and then it only remains to install it through a simple wizard.
I will only share the drivers for Windows 64 bits, but they exist for Linux and macOS 32/64 bits as well.
• Download Classic Client version 7.2 for Windows 64-bit (.msi 55.6 MB). Windows 7 onwards.
3. Install JSignPdf
JSingPDF is a (free) application that allows you to sign a PDF document electronically with your signature electronic (on file, in token or in ID). In turn, it allows adding more than one electronic signature to the document.
To sign, you must download the JSignPDF software available for Windows, MAC and Linux.
Sign with ID
1. Connect the smart card reader to the USB port and insert the electronic card.
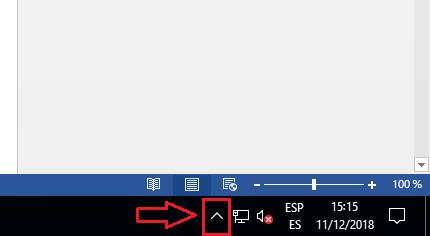
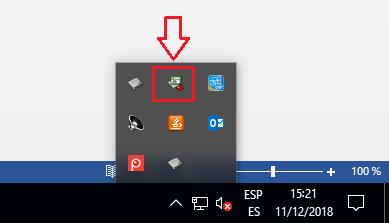
2. Go to the lower right part of the taskbar, expand the hidden icons and click
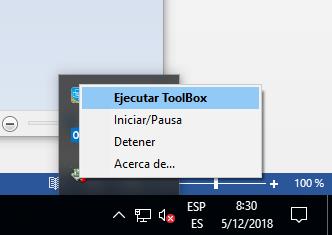
right on the electronic ID driver icon and then "Run ToolBox"
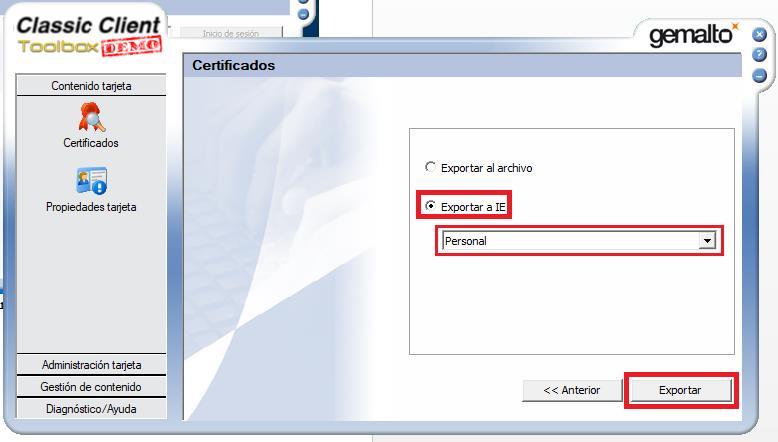
3. A program will open, we will click on Certificates, we will select our electronic ID
and we will click on Export
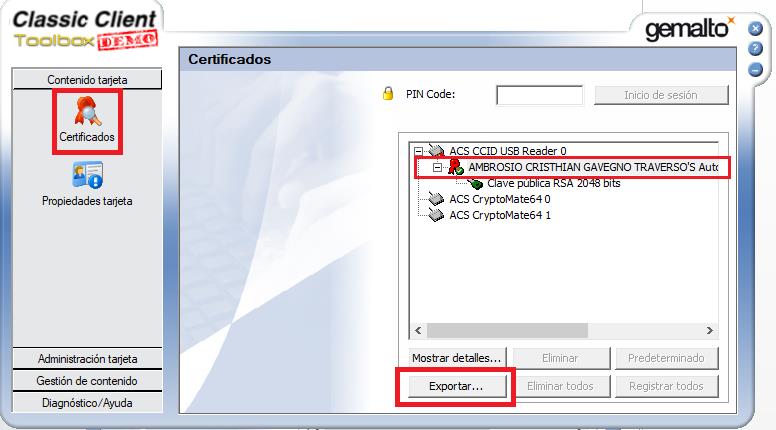
4. We will select "Export IE", we will select the option "Personal" and we will export.
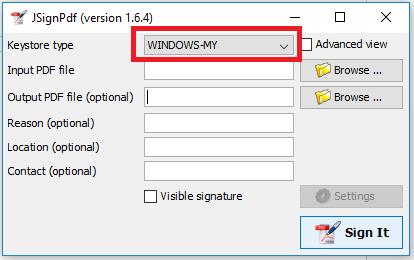
5. We will open the JSignPdf
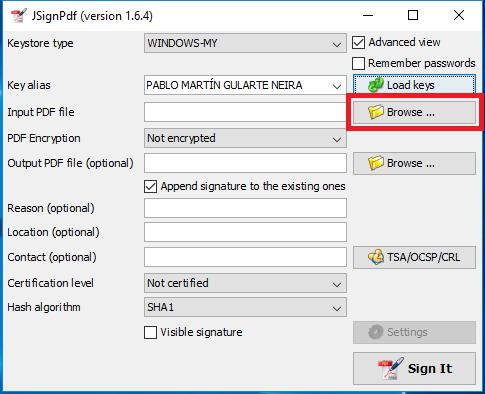
6. In "Keystore type" we will select WINDOWS-MY
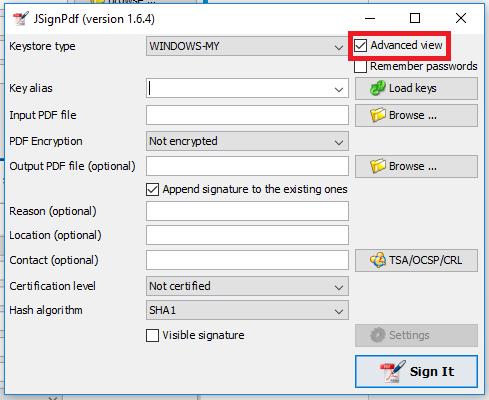
7. Then we will mark the box "Advanced view" (we will see that more options will be displayed)
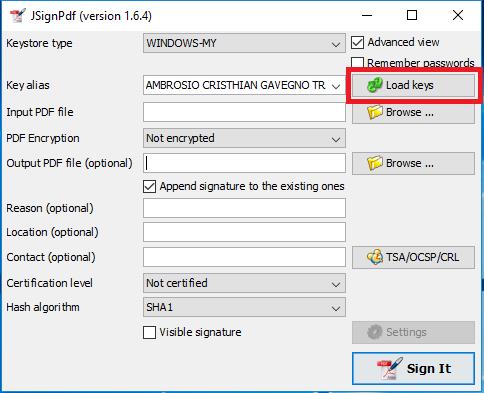
8. Click on “Load Keys” and we will select the desired ID or first and last name
9. In "Input PDF file" we must select the PDF file to sign, for this we press the button
"Browse", another window will be displayed where we will select the file.
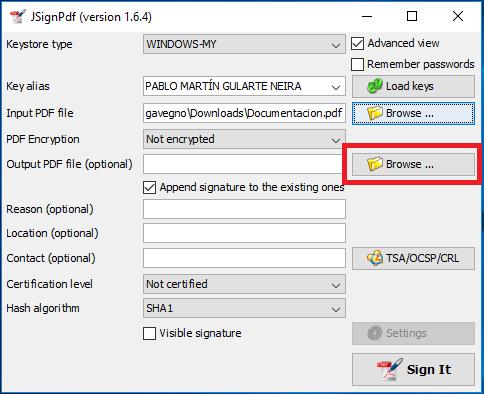
10. In “Output PDF File” we will select the name and the path where the new one will be saved
PDF file already signed, for this we press the "Browse" button, another screen will be displayed
so that we select where we want to save the new signed file and with what name,
then we will press "Save".
11. Finally we will verify that the box "Append signature to the existing ones" is checked, if not
It is to mark it since in this way the file can be signed with more than one signature (optional).
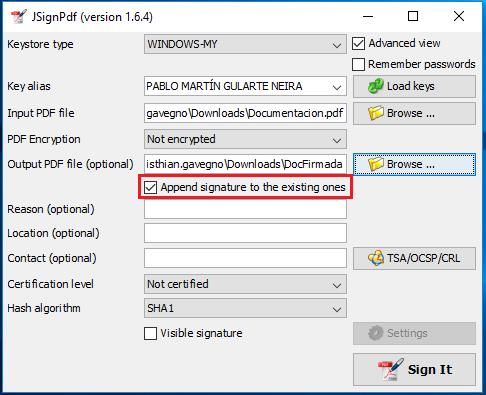
12. Next, you must click on the "Sign It" button located at the bottom right of the sale.
of the software.
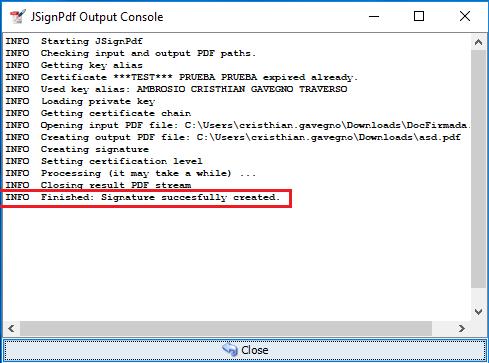
We will be asked for the ID of the ID and we will enter it
If all the data are correct, a window like the following one will be displayed with the message
successful execution as marked in the following image.
To verify that the signature was correctly made, the PDF can be opened in Adobe Reader and in the
signature panel of this application you can view the signature / s made.

The procedure that I will share with you is tested in Uruguay with our electronic ID.
It will be used to use any identity document with a chip, smart card or token.
1. Requirements
• Have an electronic identity card
• Have a smart card reader
• Have drivers for the electronic card installed. If you do not have them installed, in point 2 you
we indicate how to do it.
NOTE TO DRIVERS:
The driver provided will be the one used in Uruguay.
There are many companies that provide smart identification cards and the drivers and drivers will depend on each country.
As in Uruguay the provider is the Gemalto company, we will use the driver Classic Client version 7.2 by Gemalto (Toolbox).
For other countries, they must request it at the Institution that provides them with your smart identity card, smart card or token.
• Have JSignPdf installed. If you don't have it installed, in point 3 we tell you how to do it.
2. Install Electronic Certificate drivers
First of all, the drivers for the electronic identity card that are available must be installed
then. Within the download options you must select the one that suits the operating system
from your computer and then it only remains to install it through a simple wizard.
I will only share the drivers for Windows 64 bits, but they exist for Linux and macOS 32/64 bits as well.
• Download Classic Client version 7.2 for Windows 64-bit (.msi 55.6 MB). Windows 7 onwards.
You must be registered for see links
3. Install JSignPdf
JSingPDF is a (free) application that allows you to sign a PDF document electronically with your signature electronic (on file, in token or in ID). In turn, it allows adding more than one electronic signature to the document.
To sign, you must download the JSignPDF software available for Windows, MAC and Linux.
You must be registered for see links
Sign with ID
1. Connect the smart card reader to the USB port and insert the electronic card.
2. Go to the lower right part of the taskbar, expand the hidden icons and click
right on the electronic ID driver icon and then "Run ToolBox"
3. A program will open, we will click on Certificates, we will select our electronic ID
and we will click on Export
4. We will select "Export IE", we will select the option "Personal" and we will export.
5. We will open the JSignPdf
6. In "Keystore type" we will select WINDOWS-MY
7. Then we will mark the box "Advanced view" (we will see that more options will be displayed)
8. Click on “Load Keys” and we will select the desired ID or first and last name
9. In "Input PDF file" we must select the PDF file to sign, for this we press the button
"Browse", another window will be displayed where we will select the file.
10. In “Output PDF File” we will select the name and the path where the new one will be saved
PDF file already signed, for this we press the "Browse" button, another screen will be displayed
so that we select where we want to save the new signed file and with what name,
then we will press "Save".
11. Finally we will verify that the box "Append signature to the existing ones" is checked, if not
It is to mark it since in this way the file can be signed with more than one signature (optional).
12. Next, you must click on the "Sign It" button located at the bottom right of the sale.
of the software.
We will be asked for the ID of the ID and we will enter it
If all the data are correct, a window like the following one will be displayed with the message
successful execution as marked in the following image.
To verify that the signature was correctly made, the PDF can be opened in Adobe Reader and in the
signature panel of this application you can view the signature / s made.