- Downloaded
- 207 GB
- Uploaded
- 35.2 TB
- Ratio
- 174.13
- Seedbonus
- 34,503
- Upload Count
- 217 (229)
Member for 5 years


Building a Live PE Install Disc
I have seen 1 other person build like this, and it's where I got the idea from.
This is actually just a little larger than a regular install of Windows by about
400k-600k due to the size of the BOOT.WIM file. I will show you in depth how
I build these. You will be surprised how easy it really is.
This may be "borderline" against rules but it is info I feel MUST be passed on to others.
Tools Required
(in links below thread)
1- 7zip (or similar)
2- DISM GUI
3- UltraISO
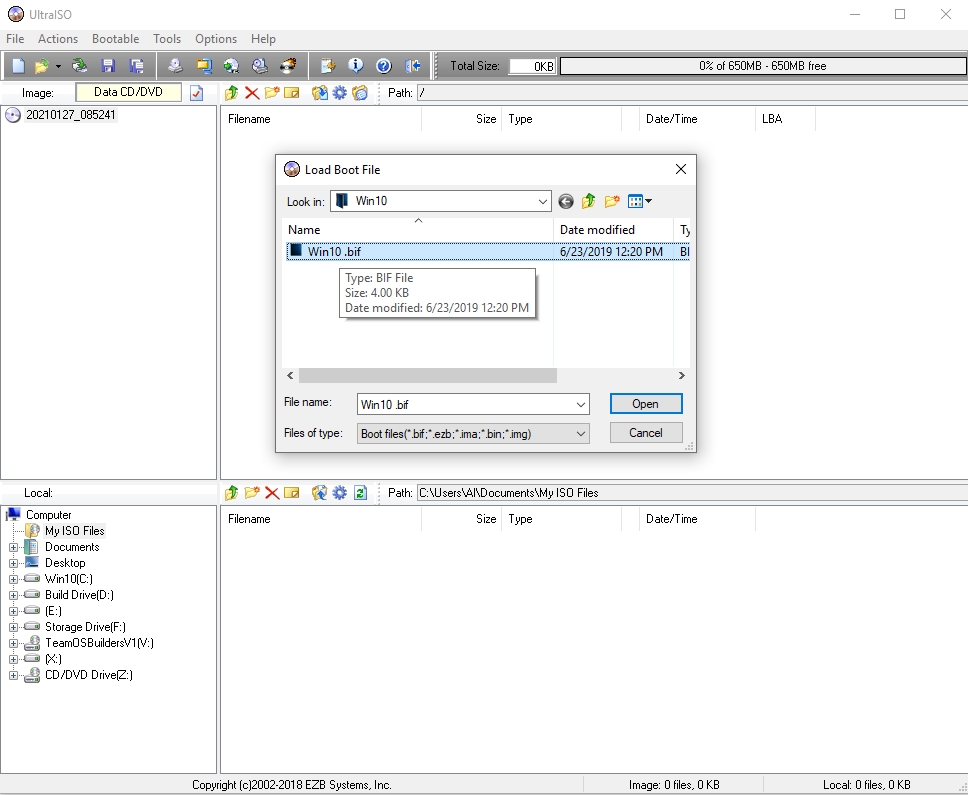
4- BIF files (boot image files)
5- OS Install ISO
6- PE maker OR an already made PE Repair disc (ie: Hirens, Gandalfs, AOMEI) (Sergei Strelec Disc is HARD to work with)
NOTE: ALL PE's are different to work with, some easier than others.
Hirens is really easy, so is AOMEI. We will be using Hirens for this example.
Preparation
- DISABLE ANTIVIRUS!
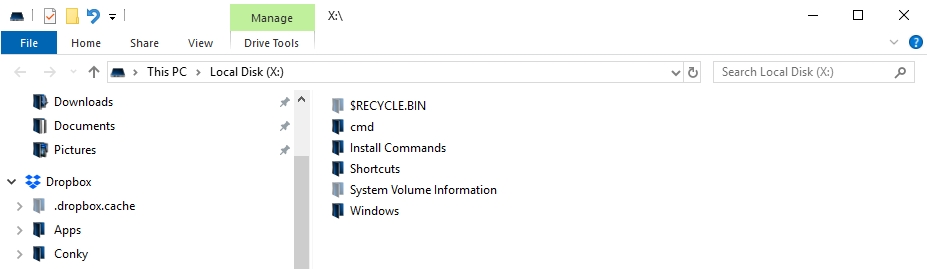
- MOST of the PE's out there use X:\ as the default root directory. I have a drive on my computer
setup as X:\ so I can make shortcuts and have the appropriate properties for an X:\ drive.
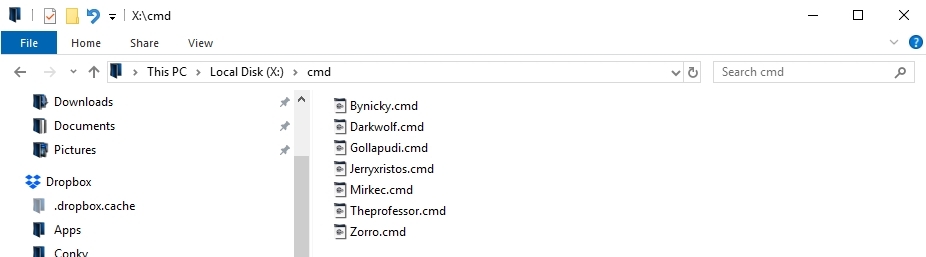
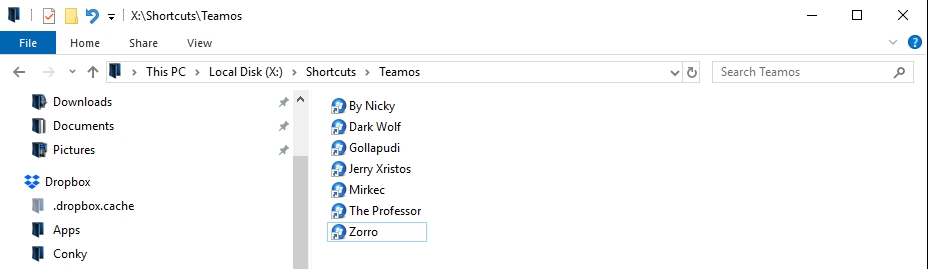
- On MY computer, I open the X:\ drive, make a 2 folders called CMD & Shortcuts , and put my .CMD files in X:\CMD.
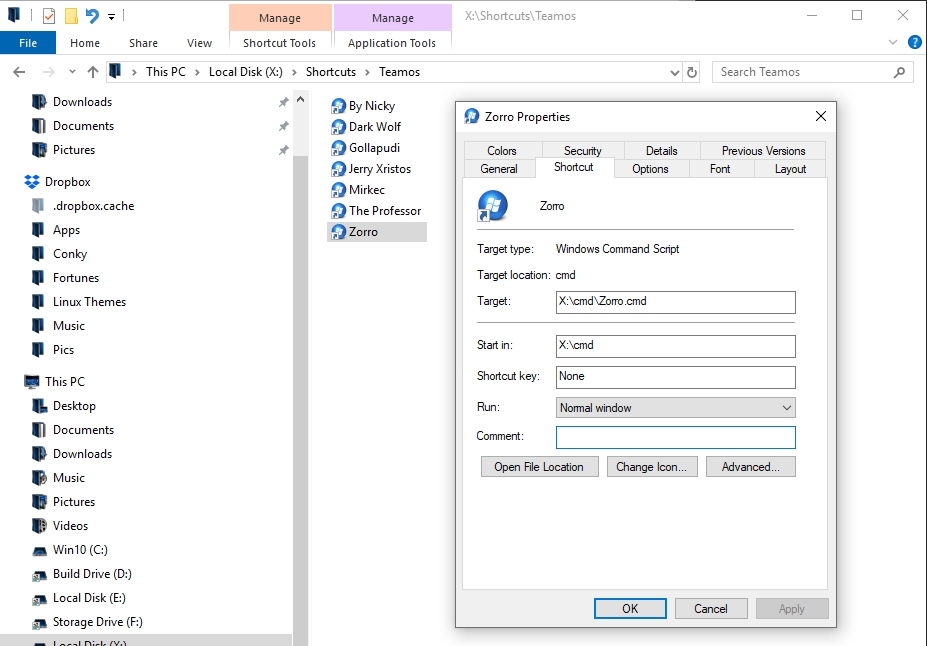
I have an EMPTY folder named X:\Windows where I put ALL icons. I then drag EACH CMD file to desktop
and create shortcut, click properties, then change icon to one of the ones in the X:\Windows directory.
After making the shortcuts, and icons are correct, I drag and move the NEW shortcuts to MY X:\Shortcuts directory.
- I verify properties of EACH CMD file and SHORTCUT to make sure it is pointed to correct folders.
- Take an IMAGE you want to use as Desktop Background. Make sure it is 1024x768 in size. MUST be named img0.jpg. Save it for later.
Building the BOOT.WIM
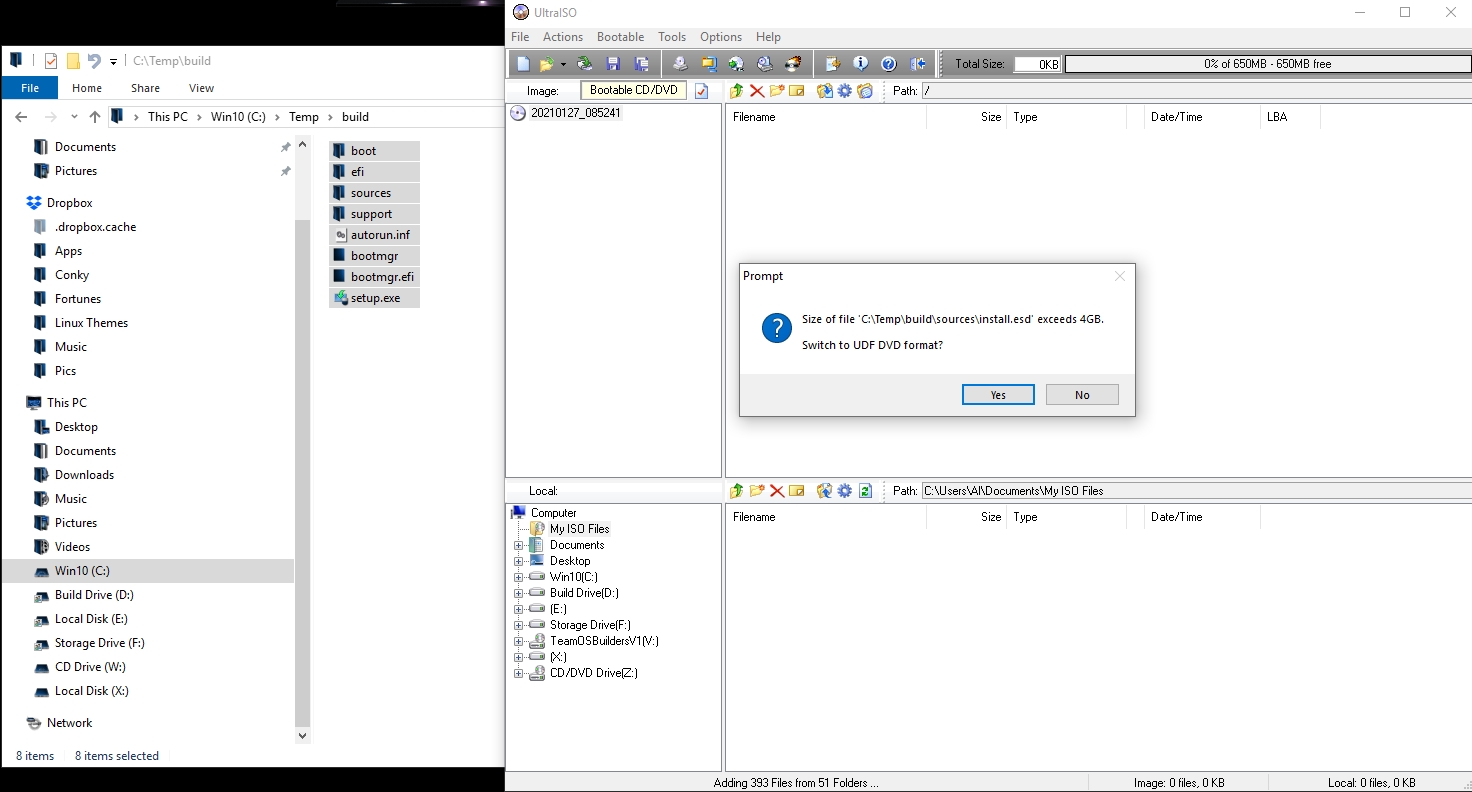
- Start by right clicking OS ISO and opening with 7zip. Extract contents to an EMPTY folder. Lets use C:\Temp\BUILD as our choice.
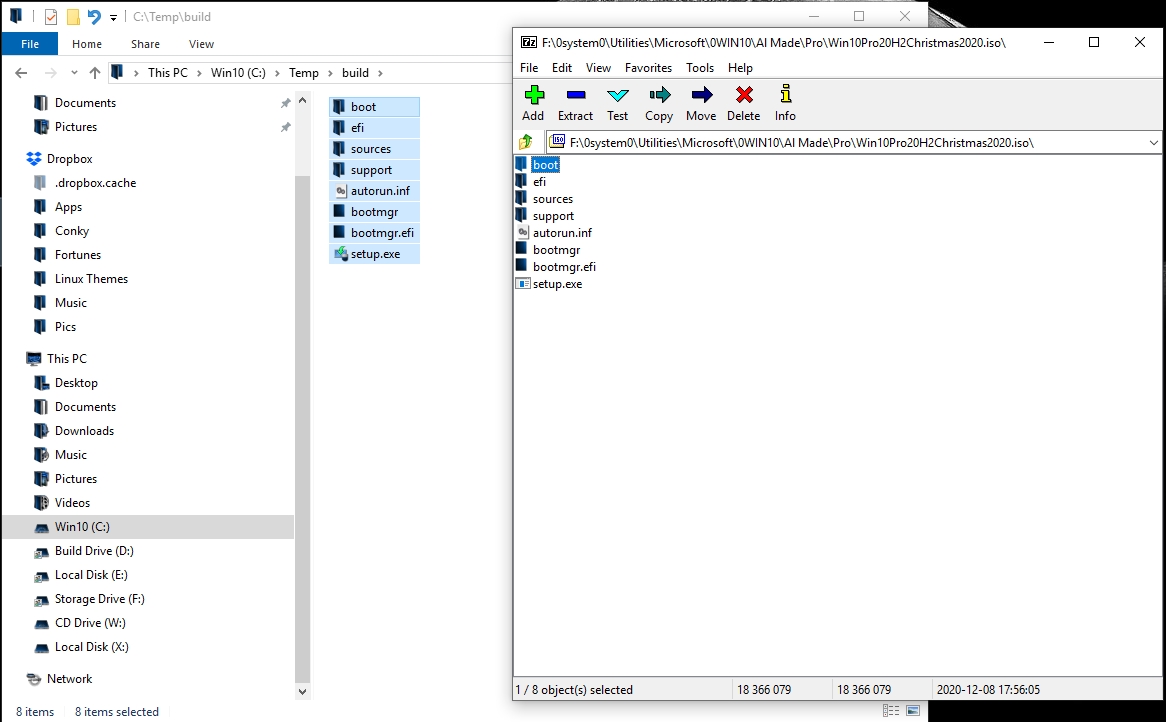
- Go into the C:\Temp\BUILD\Sources\ folder and delete BOOT.WIM
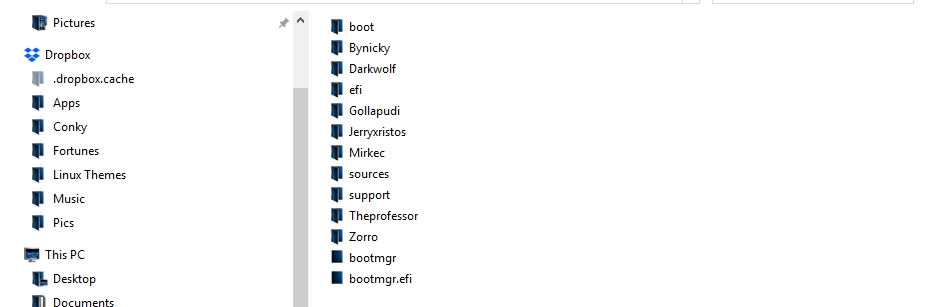
- Make Directories for EACH OS you want to INSTALL (ie: C:\Temp\BUILD\mirkec C:\Temp\BUILD\Gollapudi etc...)
and extract EACH ISO into its appropriate directory.
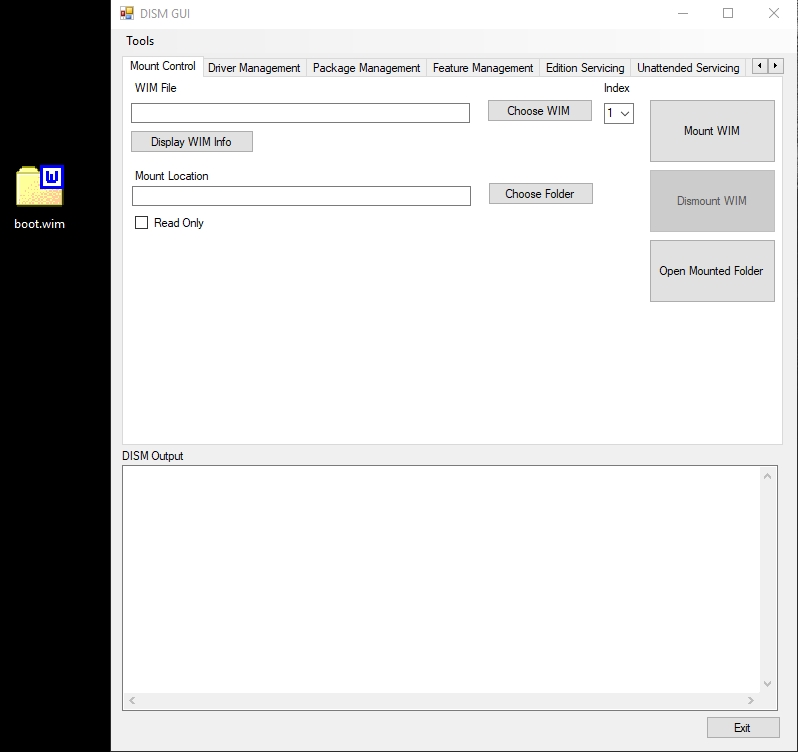
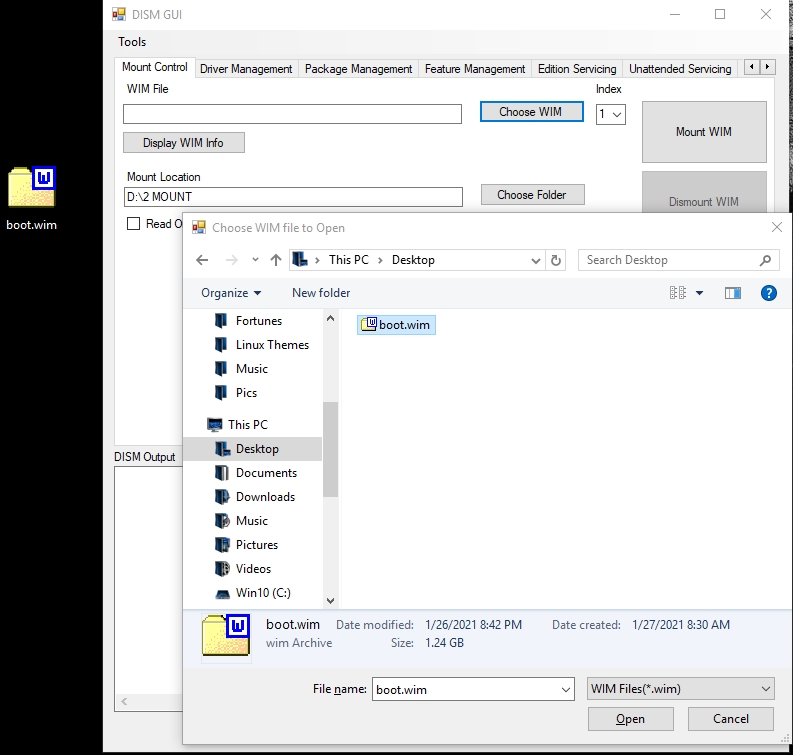
- Open Hirens ISO with 7zip and extract the BOOT.WIM from the SOURCES directory to DESKTOP (or anywhere).
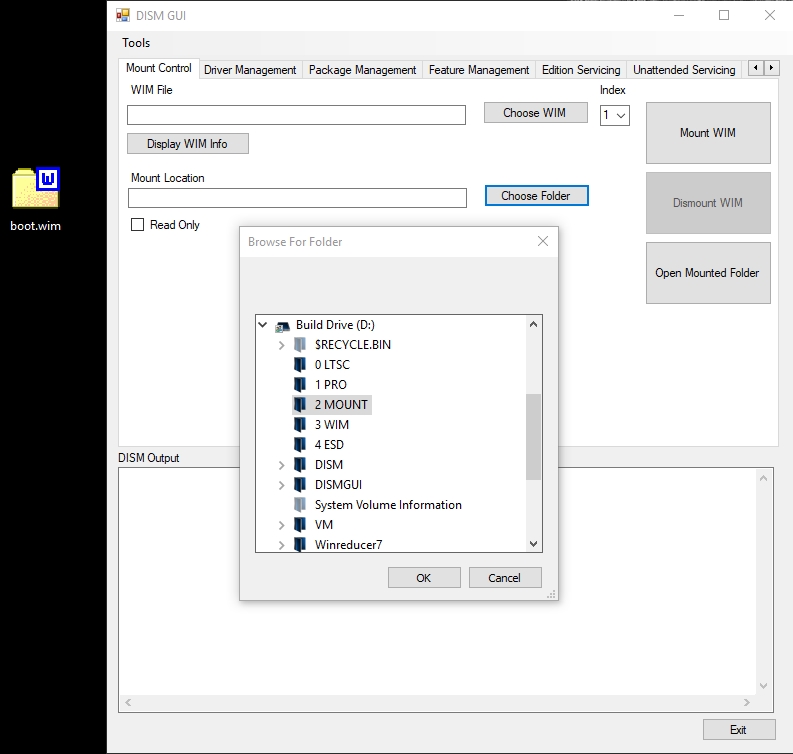
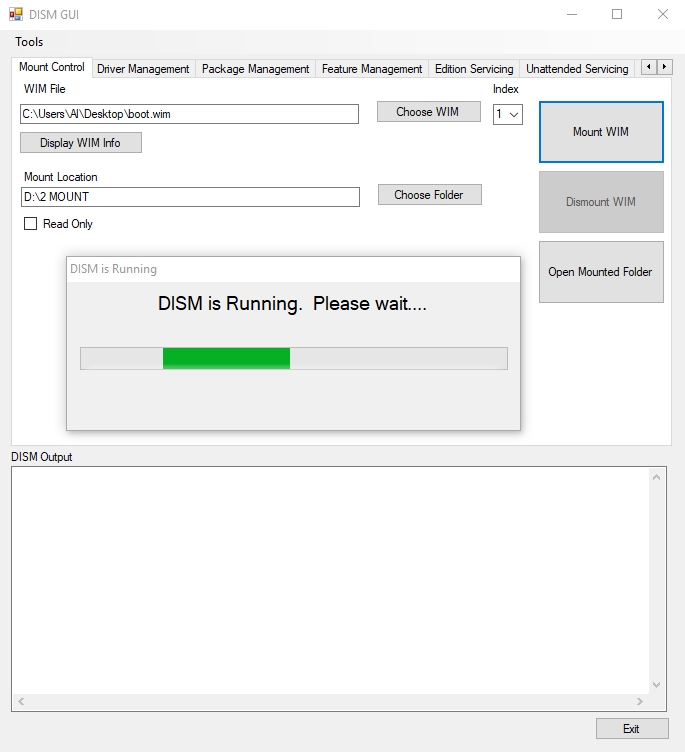
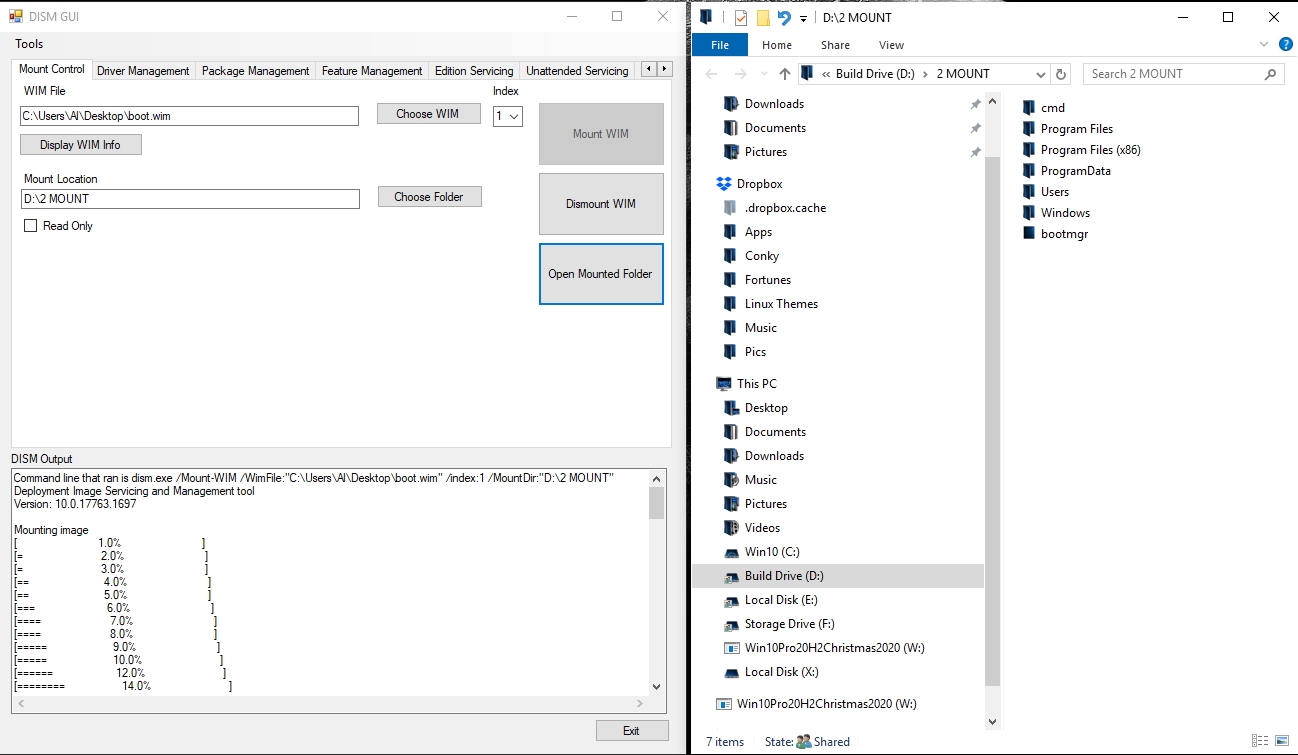
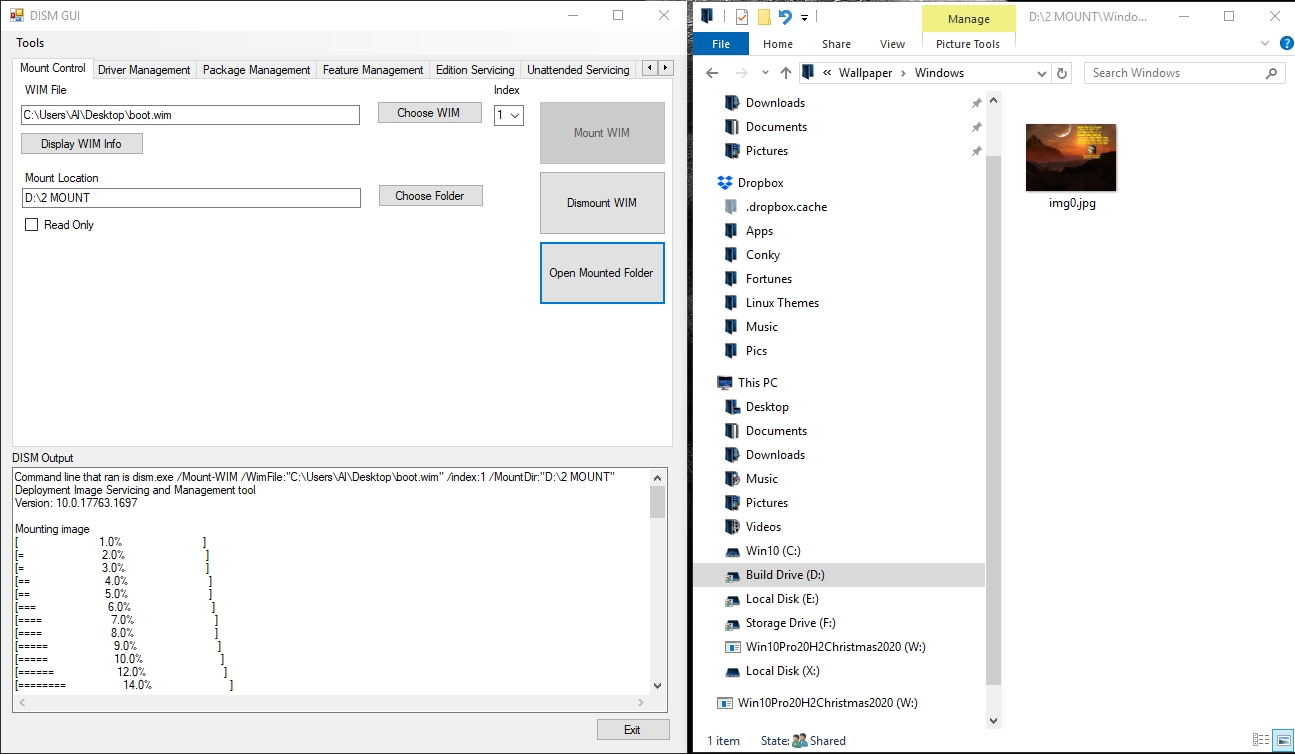
- Using DISM GUI, mount the extracted BOOT.WIM by choosing an EMPTY mount directory, uncheck the READ
ONLY box, choose the BOOT.WIM you extracted from Hirens ISO, then once mounted open mounted folder.
- I make a folder named CMD to put ALL the CMD files in.
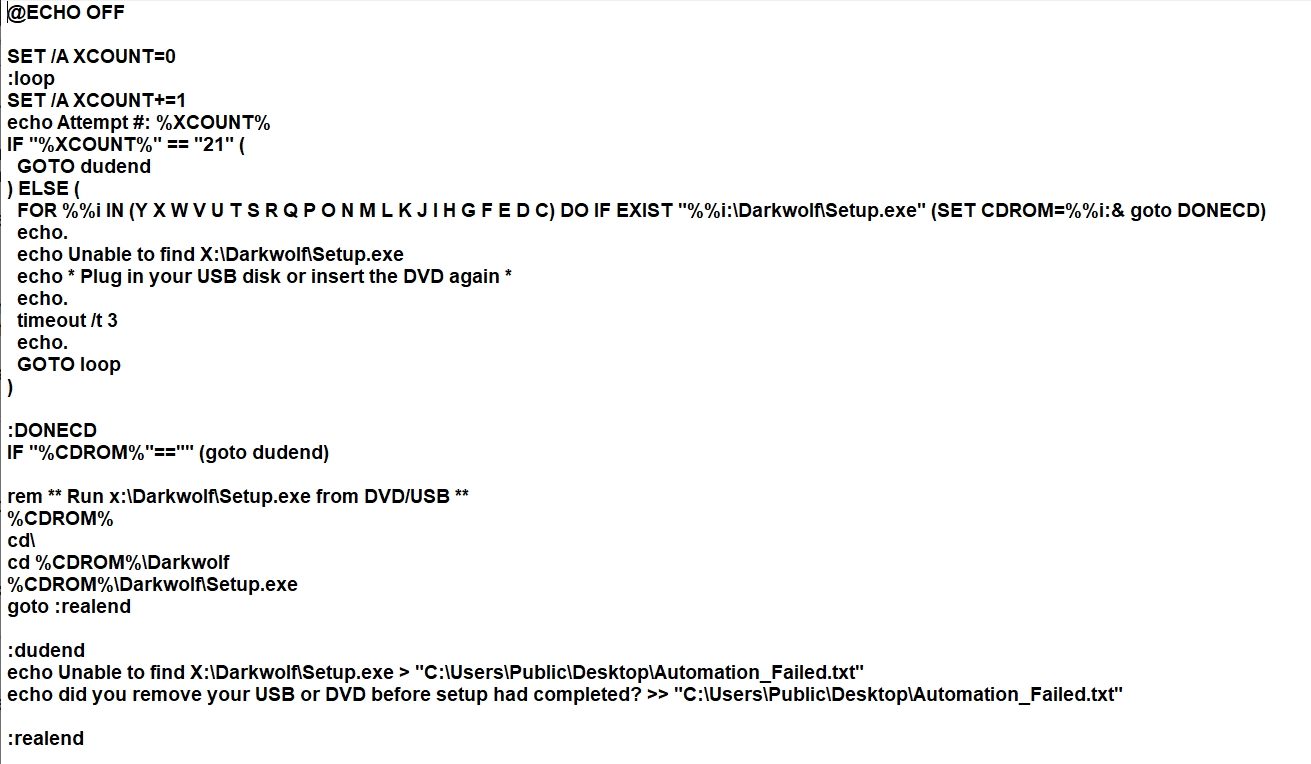
- Open the MOUNT\Users\Default\Desktop folder. Here you will place the SHORTCUTS to OS's you created earlier.
Be sure to copy ALL .ICO files to the MOUNT\Windows directory so shortcuts will have a nice ICON as well.
- Open the MOUNT\Windows\Web\Wallpaper\Windows\ folder and place your NEW Desktop image in there (img0.jpg)
- Once all OS's are extracted to correct folders, and CMD files are in MOUNT\CMD and SHORTCUTS copied to MOUNT\Users\Default\Desktop
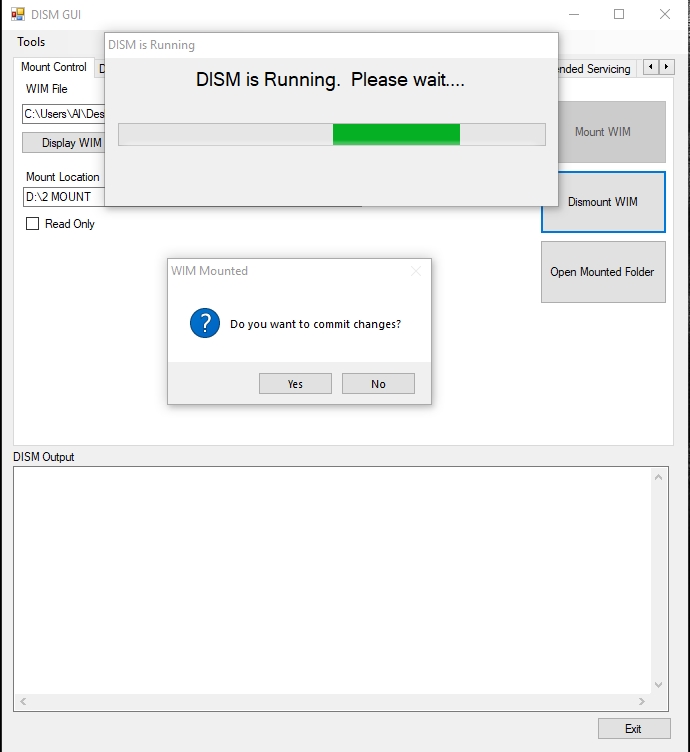
and ICONS are copied to MOUNT\Windows hit the UNMOUNT button in DISM GUI and make SURE you hit COMMIT CHANGES.
Dism GUI will close in a minute. Make SURE you unmount the WIM files every time, or it will show a WIM open on
hard drive and unavailable to use or manipulate anymore until WIM is cleared.
If this SHOULD happen, and it will because we ALL get in a hurry, run this command from an elevated command prompt.
It finds any OPEN WIM's and 2nd command closes them and clears the disc of any OPEN WIM's.
1st command - C:\dism /get-mountedwiminfo <enter> (shows open WIM's)
2nd command - C:\dism /cleanup-wim <enter>
3rd command - C:\dism /cleanup-wim <enter> (just to make sure all are gone)
- Once closed out of Dism GUI, copy the NEW BOOT.WIM to the C:\Temp\BUILD\Sources\ folder you extracted original ISO to.
- Use UltraISO and create a NEW BOOTABLE DVD
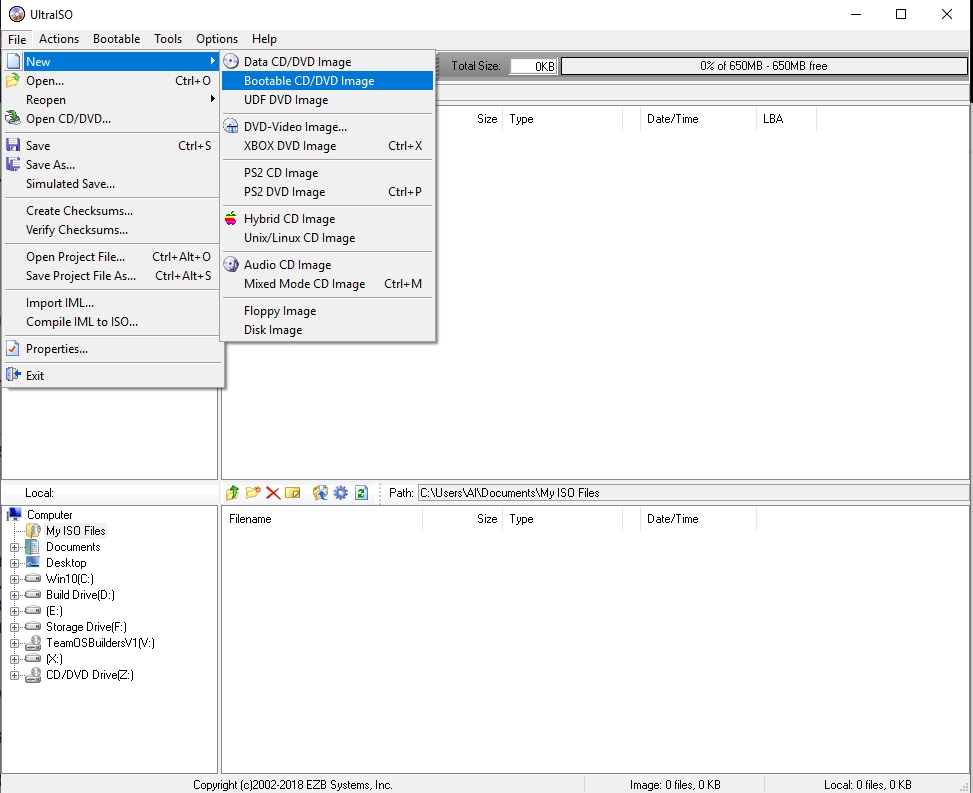
- Choose a BIF (Boot Image File)
- Drag contents of C:\Temp\BUILD\ folder to UltraISO. If contents are oversized, it will ask to make UDF DVD instead, choose YES.
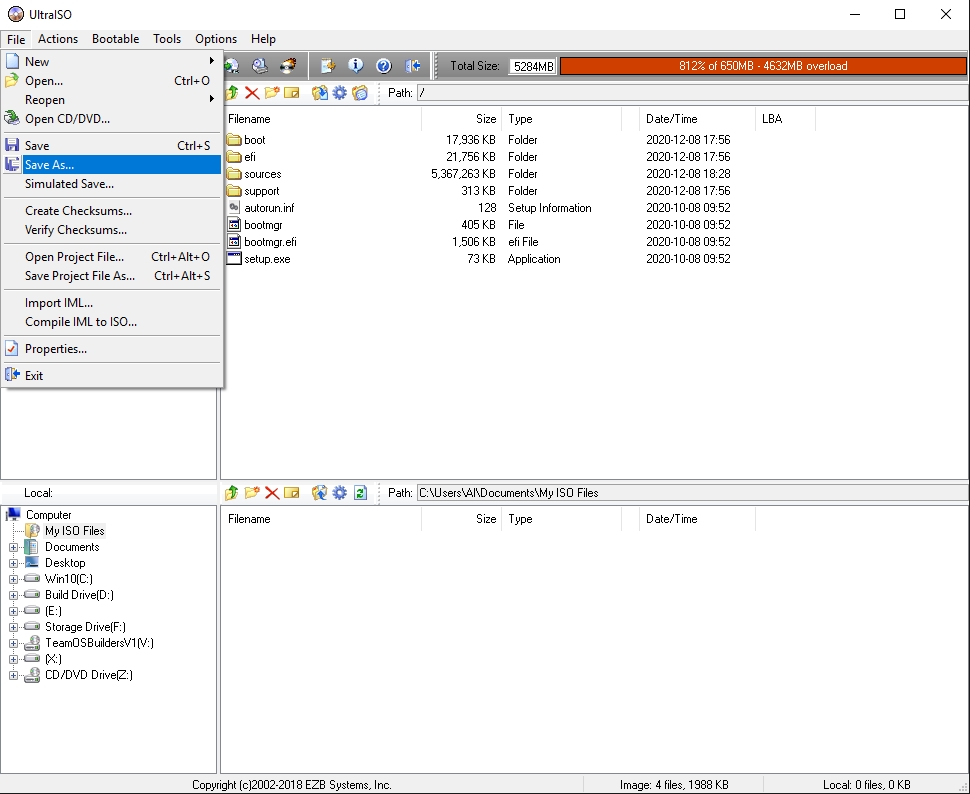
- Save As (whatever name you want.ISO)
- Load VirtualBox/VMWare and test NEW creation!
- You should now have a LIVE Windows 10 fully functional PE Repair Disc, as well as OS Install Disc.
- Works in VM or Real Hardware.
Links
You must be registered for see links
You must be registered for see links
You must be registered for see links
You must be registered for see links
VirusScan for Links
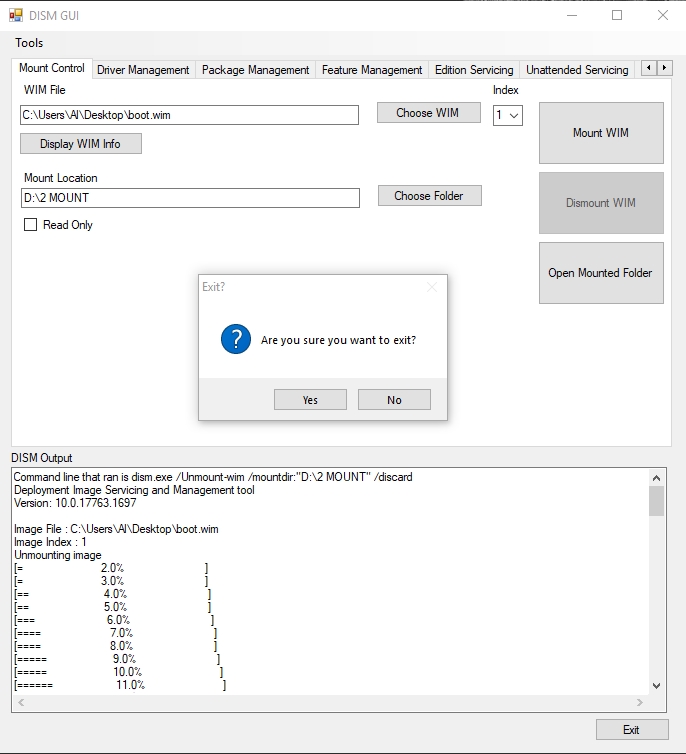
Last edited:
")

")


 Like mkrleza said, ' fool poof but but reddove proof.
