Zongot
Member
- Downloaded
- 0 bytes
- Uploaded
- 5 GB
- Ratio
- -
- Seedbonus
- 0
- Upload Count
- 0 (0)
Member for 1 years
Description
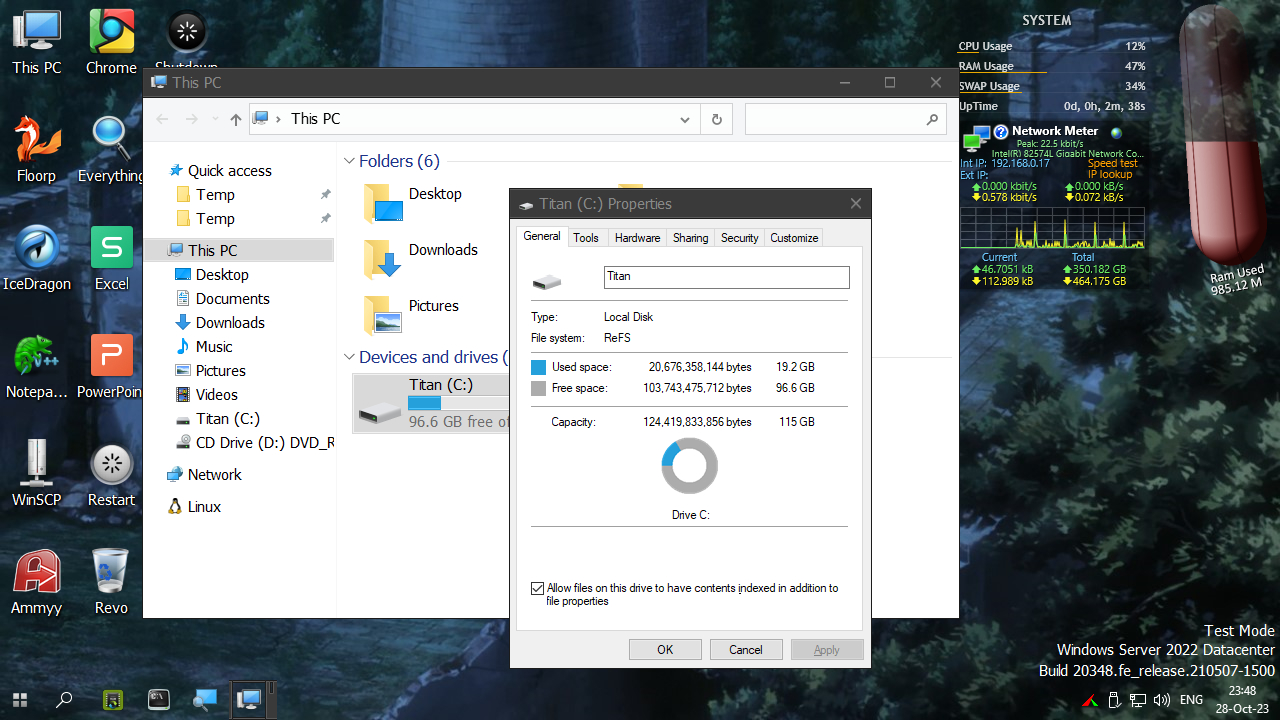
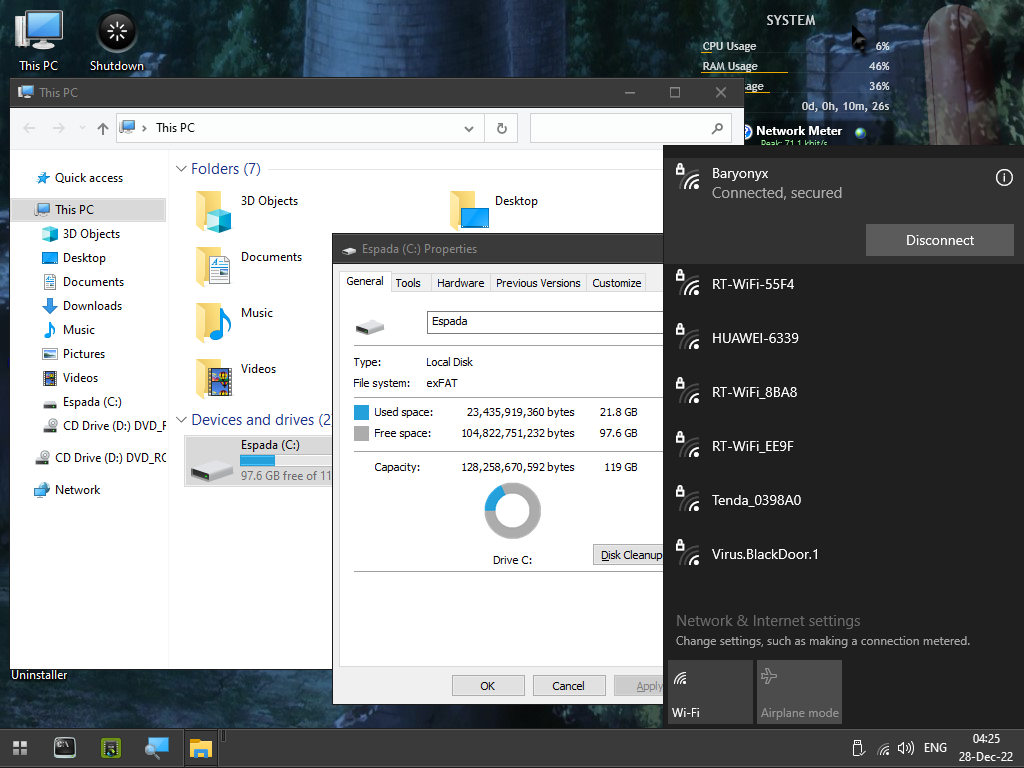
This ISO image has a special feature: user can select the file system of the Windows partition during installation - you can choose NTFS, ReFS or exFAT. The Store will only work on NTFS. ISO includes DirectX 9.0c, VC++ 2005-2022, Java Runtime 32-bit, WPS Office 11.2, some other programs, LAN and Wi-Fi drivers.
Original author of Windows Server 2022 ReFS Edition: Volksmarine
Hardware requirements
1.4 GHz 64-bit processor
RAM 2 GB
Disk space for Windows files ~20 GB
UEFI-enabled motherboard (only needed to boot from ReFS)
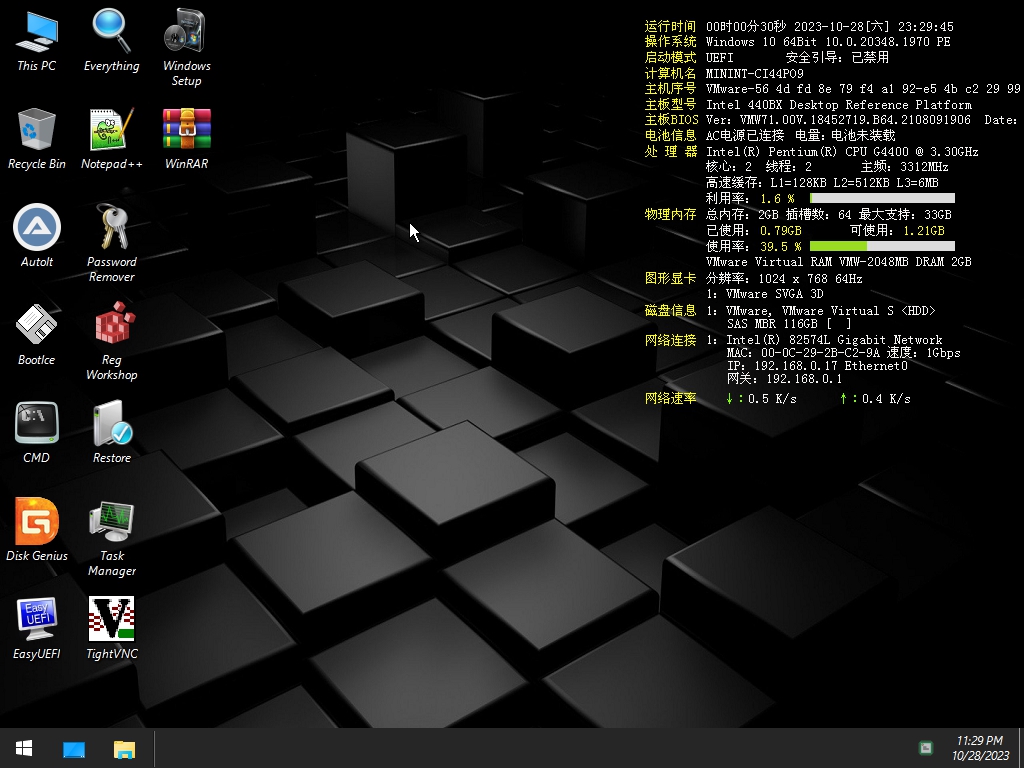
Screenshots
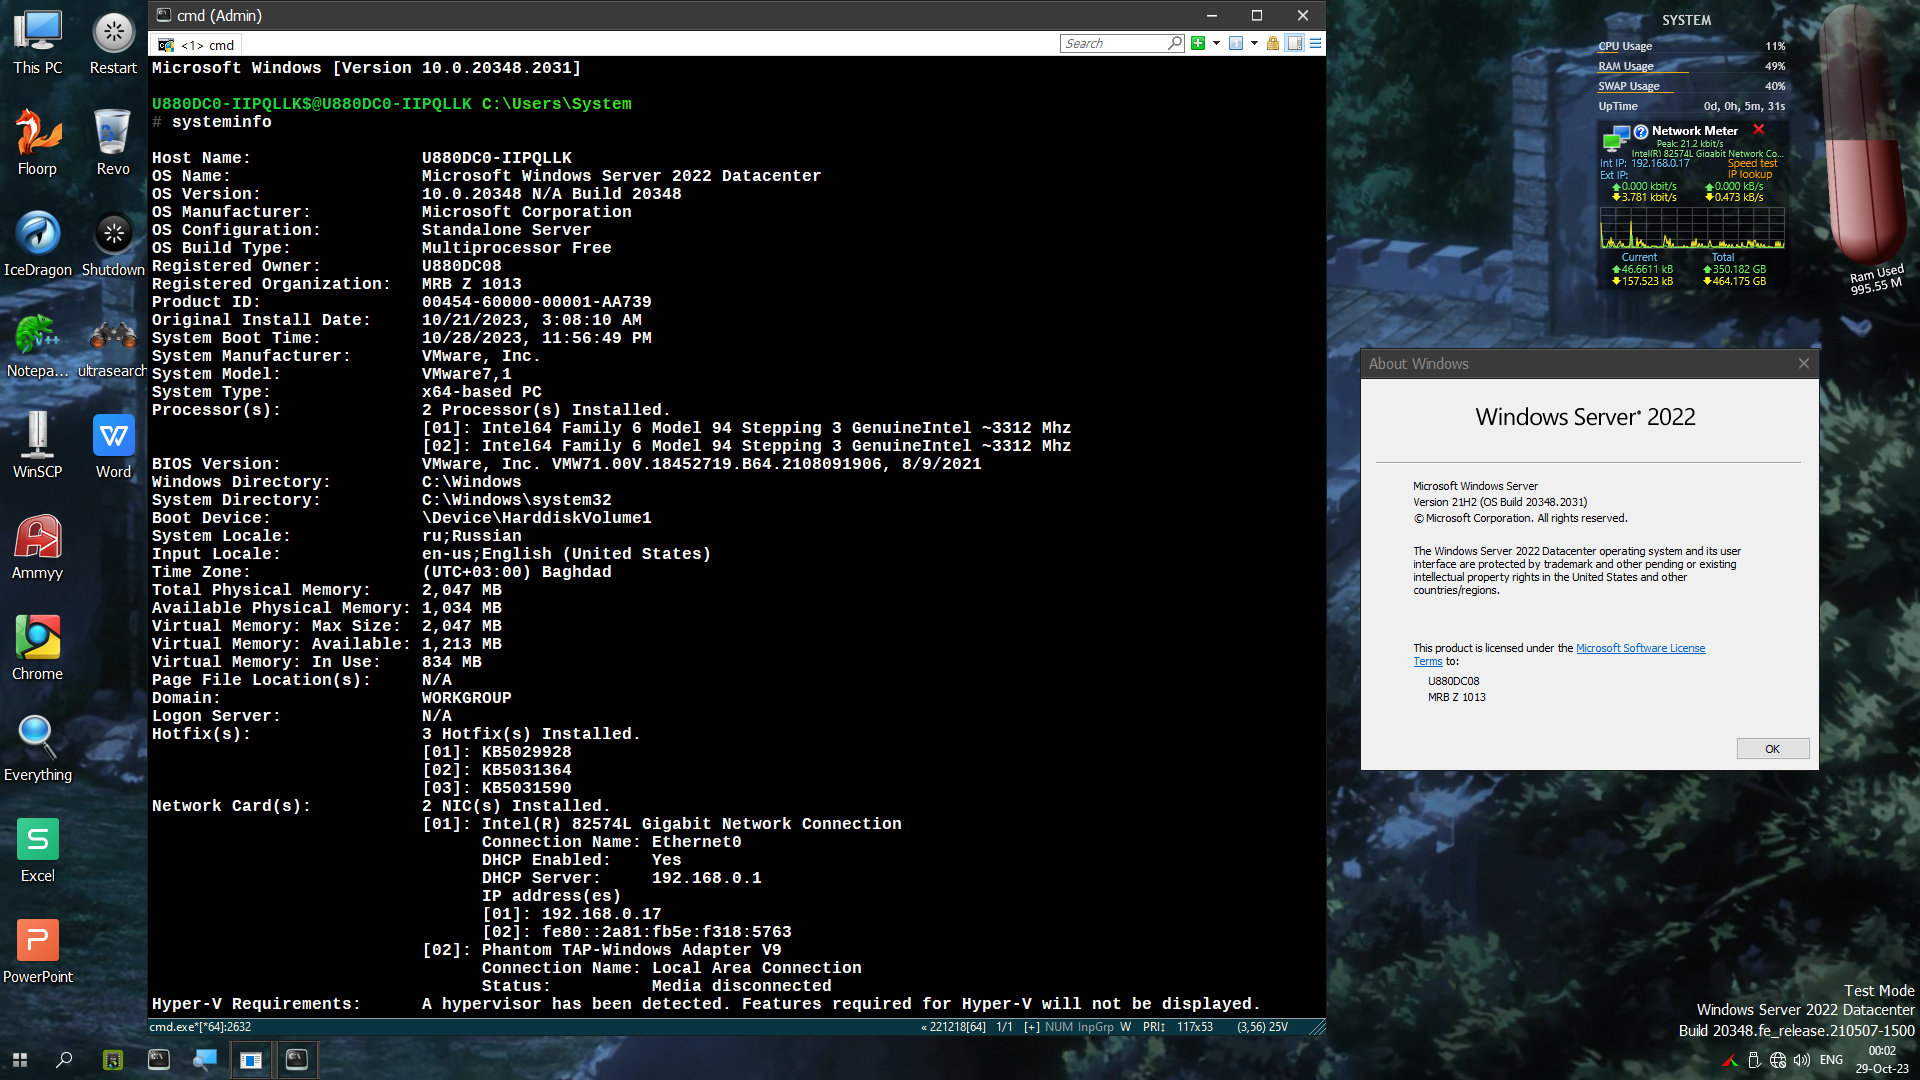
Preinstalled language packs:
English (US), Russian
Checksums. File WinServer2022_20348.2031_ReFS.iso
MD5: 54C1F1D28ACF69CD46B6D0E6912E4018
SHA-1: 78DF36761934B47E7DF69D469B65E236F7F69B38
CRC32: E8D52E70
Installation process
The first step is to create a bootable USB flash drive. Using Rufus or "YUMI exFAT" burn the ISO image to a flash drive. In the PC BIOS menu, make the flash drive bootable. After loading the WinPE environment from the flash drive, click the "Windows Setup" shortcut on the desktop.
The script will renumber all disks and ask you to enter the disk number on which you want to install Windows. You need to enter the disk number and press Enter.
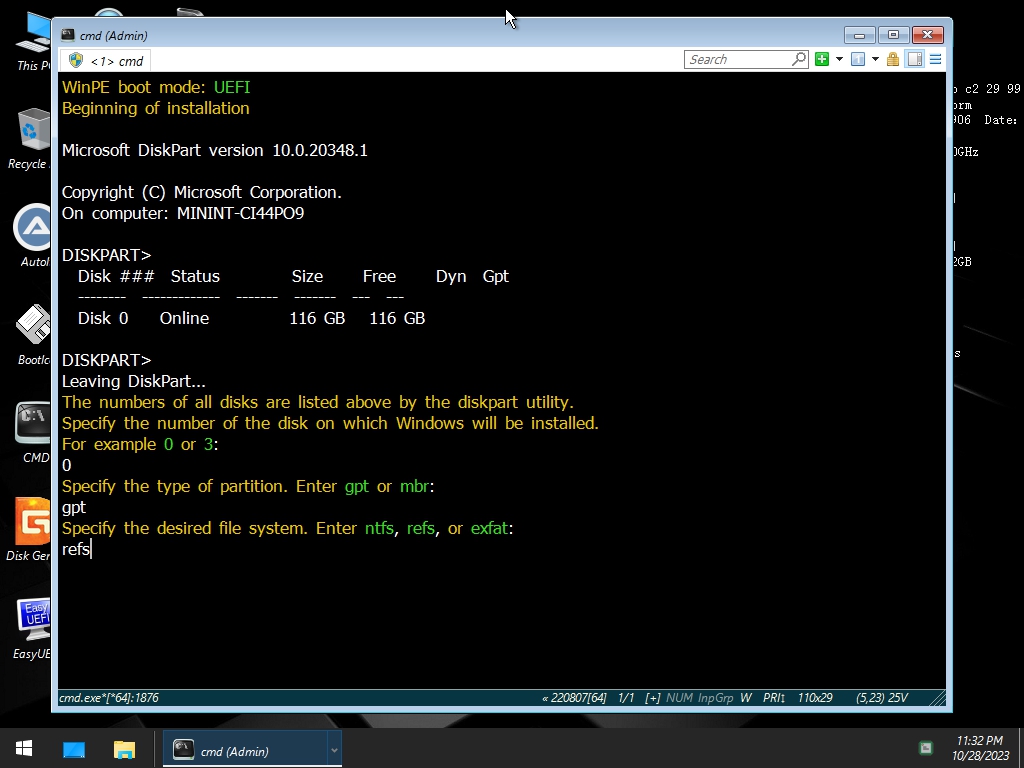
Then you need to specify the partition type. For UEFI motherboards you need to specify "gpt", and for Legacy BIOS motherboards you need to specify "mbr". Then specify the file system. After this, the installation will begin. There is no need to intervene at this stage. When installing to an exFAT partition, it may seem that copying is frozen at 57% - this is normal. At the end, a message will appear indicating that Windows installation is complete.
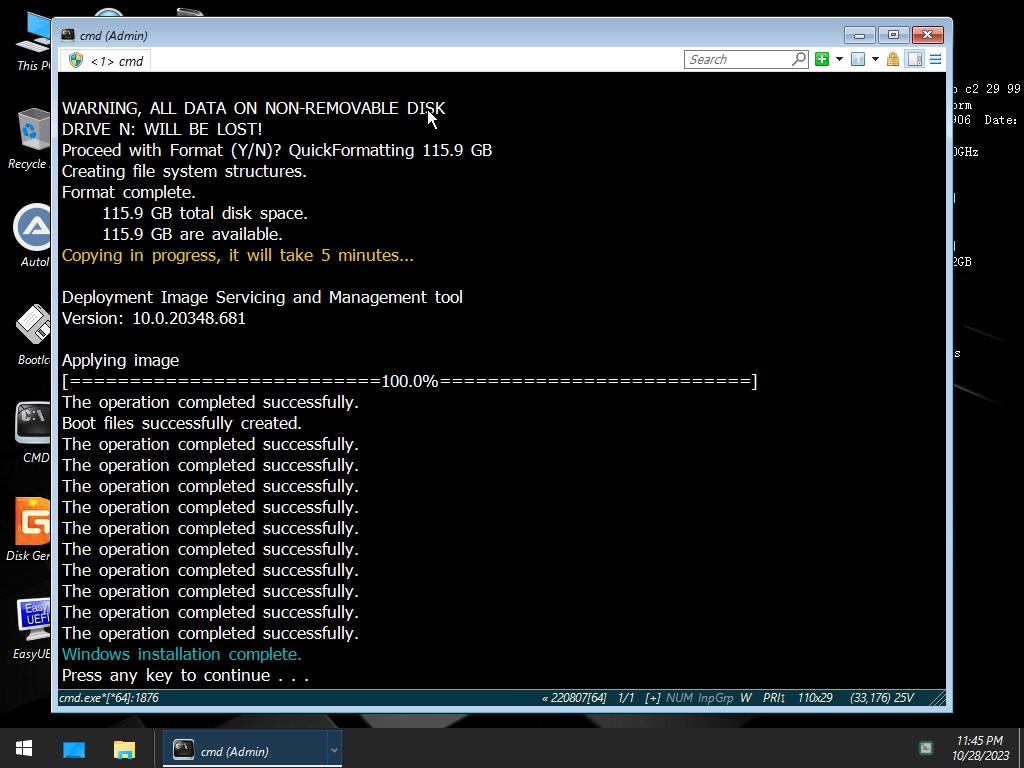
After this, you can remove the flash drive and restart the PC. After the reboot, you can adjust the size of the paging file.
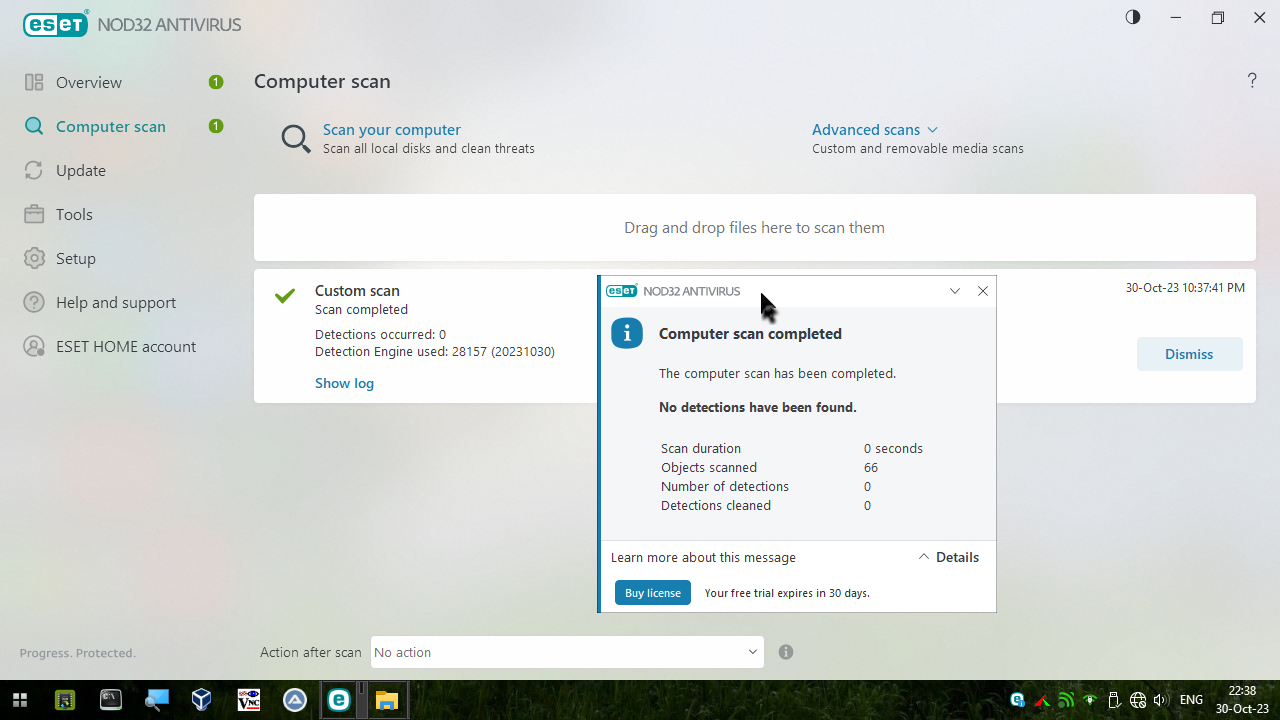
Virus reports
What was scanned: The folder "D:\WinServer2022_20348.2031_ReFS" on hard drive, to where ISO files were extracted:
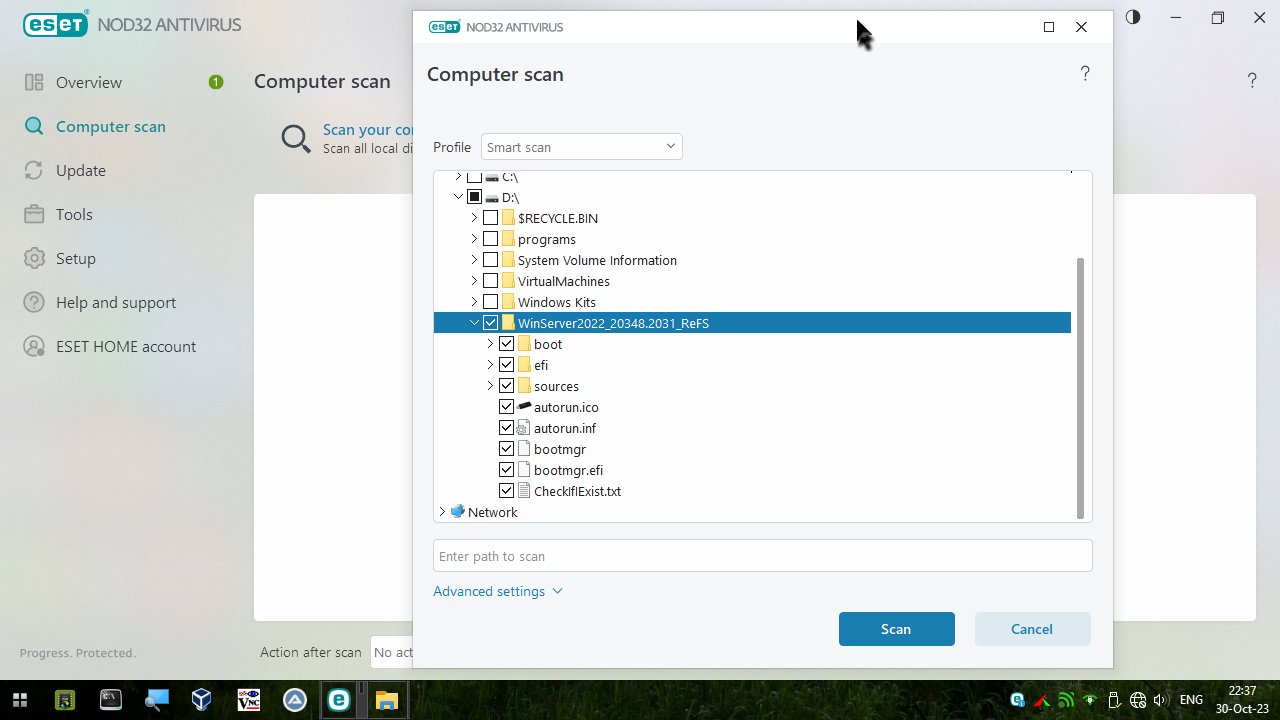
Scanning tool: ESET NOD32 Antivirus 16.2.15.0
Local anti-virus scan results:
Installing updates, language packs, and roles
In ISO, updates work on all file systems; automatic updates are disabled. On exFAT and ReFS file systems, new language packs and roles cannot be added; existing language packs and roles continue to function.
Installing applications from the Store on the NTFS file system
In the Store, the "Install" button does not work because the Store was not originally provided for Windows Server. Therefore, you can only install applications manually. To do this, you need to know the application ID on the Microsoft website. To download application files, go to AdGuard website, enter the ID there, select the Retail version, and click "OK". The site will generate download links. You can ignore files with the extensions "BlockMap", "eappxbundle" as well as files for arm, arm64 architectures. It is advisable to download the remaining files - these are the files of the application itself and its dependencies. In order to find out exactly what the appx application file depends on, you need to extract it into a folder with an archiver, open "AppxManifest.xml" in the folder and find the Dependencies section. appxbundle files contain multiple appx files.
To install the appx, appxbundle, msix, msixbundle files, enter in PowerShell:
Code:
Add-AppxPackage -Path "C:\Boatman_3.0.0.19_x64.appx"Some information about ReFS. Text highlighted in red is required reading
ReFS (resilent file system) is a file system from Microsoft introduced in Windows Server 2012 under the code name Protogon.
ReFS provides higher reliability of data storage, since B+ trees are used to store files and metadata. They can be single-level (like leaves) or multi-level (like trees). By using pointers, B+ trees can reduce the number of I/O operations required to retrieve a tree element.
ReFS offers a "Sparse VDL" (valid data length) function that allows you to quickly write zeros to a large file. This greatly speeds up the creation of a new, empty, fixed-size virtual hard disk (VHD, VMDK) file. In NTFS this operation can take 10 minutes, in ReFS – a few seconds.
On ReFS, the maximum file size is 16 exbibytes and the maximum partition size is 1 yobibyte.
Since its inception in 2012 ReFS had several versions. Since version 3.5, hard links are supported. When installing this ISO on a ReFS partition, it will have version 3.7. ReFS reserves part of the space on the partition for "checksums" - this is normal.
If data on a partition is damaged, you can use R-Studio Emergency WinPE 9.1 to restore it.
After installing Server 2022 on the ReFS partition of your hard drive, you cannot connect this drive to another PC that has "Windows 11 22H2", "Windows 11 Insider Preview 22598", "Windows Server Insider Preview 25099" or later versions of Windows installed without first configuring these OS.
Explanation. By default, Windows, upon detecting a hard drive with the ReFS file system, will try to automatically, without the user's consent, update the ReFS version to a newer one - in this case, from version 3.7 to version 3.9. But this update mechanism is still not working properly, therefore, with a high probability, when updating the version on the disk, all data will be lost, and the disk itself will be unreadable, displayed as RAW. Even if the version upgrade is successful, Server 2022 will not be able to subsequently boot from ReFS 3.9. Therefore, on Windows 11 you need to disable version updates. To do this, open the registry editor, go to the path "HKEY_LOCAL_MACHINE\SYSTEM\ControlSet001\Control\FileSystem" and change/create the Dword parameter "RefsDisableVolumeUpgrade", setting its value to "1". After rebooting the PC, you can connect the ReFS drive.
Some information about exFAT
exFAT (Extended File Allocation Table) is a file system from Microsoft that appeared in November 2006 and is optimized for flash/SSD. exFAT is supported by various OS: Windows, Linux, Mac OS.
The advantage is a reduction in the number of overwrites of the same sector, which is important for flash drives in which memory cells wear out irreversibly after a certain number of write operations. In this file system, it is possible to easily delete/rename any file, regardless of its location and attributes. Also missing is the USN log - a spying subsystem that records information about what happened to files.
exFAT supports the TRIM instruction for SSD/NVMe drives. Unlike NTFS and ReFS, this instruction is not executed automatically when a file is deleted - instead it must be run manually approximately once a week. To do this, open the command line and enter:
Code:
start sc.exe start "OODefragAgent"
C:\PP\INST\OODefrag\oodcmd.exe /TRIM:C
C:\PP\INST\OODefrag\oodcmd.exe /TRIM:C(enter trim command 2 times)
On exFAT, the maximum file size and maximum partition size are 128 petabytes.
Hard links are not supported, so when installing Windows on an exFAT partition, an additional 5GB of space will be occupied - these are former hard links, which will be converted into real files during installation.
Please note that when installed on an exFAT partition, Windows will take a long time to load.
If you have problems installing a printer then the following guide may help
Some printers refuse to work with Windows Server. If one tries to install printer driver, a message appears stating that this OS is not supported - you will not be able to install the driver directly, through the installer. You can install it on Windows Server like this.
First you need to install the driver through the official installer on another PC or inside a Windows 10/11 virtual machine. During the installation process, you need to skip the step of connecting the printer via a USB cable.
After installing the driver and rebooting VM, open PowerShell and type:
This will list all drivers installed by the "third party". For example, the installer installed four drivers for the HP DeskJet 2320:
oem1.inf (original name hpygid31_v4.inf) - printer driver,
oem2.inf (original name hpwia_dj2300.inf) - scanner driver,
oem3.inf (original name hpreststub.inf) - USB driver,
oem4.inf (original name hpwinusbstub.inf) - USB driver.
All these four drivers need to be exported to pre-prepared folders. Open command prompt and type:
On exFAT, the maximum file size and maximum partition size are 128 petabytes.
Hard links are not supported, so when installing Windows on an exFAT partition, an additional 5GB of space will be occupied - these are former hard links, which will be converted into real files during installation.
Please note that when installed on an exFAT partition, Windows will take a long time to load.
If you have problems installing a printer then the following guide may help
Some printers refuse to work with Windows Server. If one tries to install printer driver, a message appears stating that this OS is not supported - you will not be able to install the driver directly, through the installer. You can install it on Windows Server like this.
First you need to install the driver through the official installer on another PC or inside a Windows 10/11 virtual machine. During the installation process, you need to skip the step of connecting the printer via a USB cable.
After installing the driver and rebooting VM, open PowerShell and type:
Code:
Get-WindowsDriver –Online| select Driver, ClassName, BootCritical, ProviderName, Date, Version, OriginalFileName|Out-GridViewoem1.inf (original name hpygid31_v4.inf) - printer driver,
oem2.inf (original name hpwia_dj2300.inf) - scanner driver,
oem3.inf (original name hpreststub.inf) - USB driver,
oem4.inf (original name hpwinusbstub.inf) - USB driver.
All these four drivers need to be exported to pre-prepared folders. Open command prompt and type:
Code:
pnputil.exe /export-driver oem1.inf C:\HPDeskJet2320\1
pnputil.exe /export-driver oem2.inf C:\HPDeskJet2320\2
pnputil.exe /export-driver oem3.inf C:\HPDeskJet2320\3
pnputil.exe /export-driver oem4.inf C:\HPDeskJet2320\4Almost everything is ready. Now this folder "C:\HPDeskJet2320" with exported drivers should be moved to Windows Server. On Windows Server, open a command prompt and type:
Code:
pnputil.exe /add-driver "C:\HPDeskJet2320\1\hpygid31_v4.inf" /install
pnputil.exe /add-driver "C:\HPDeskJet2320\2\hpwia_dj2300.inf" /install
pnputil.exe /add-driver "C:\HPDeskJet2320\3\hpreststub.inf" /install
pnputil.exe /add-driver "C:\HPDeskJet2320\4\hpwinusbstub.inf" /installAfter the reboot, turn on the printer, connect it to the PC and wait 2 minutes. In the "Control Panel", in "Devices and Printers" the printer icon will appear. It is advisable to open the printer properties and on the "Ports" tab, make sure that the printer port is USB.
Download Link:
Download Link:
You must be registered for see links
Last edited: